You will notice on your camera, if it is digital and built within the last decade that it will likely have come with a dial, on the top. This dial has a few selections, which are usually the preset photographing modes. What each mode does is explained below, although keep in mind; I’m only covering very briefly the generic presets. Your camera may differ slightly.
Action Option
This adapts your cameras settings to the most appropriate conditions to shoot fast paced things. Usually you’ll need to use this mode for photographing sports events, where you need to have something that captures the photograph fast, with the adequate lighting. This usually is a good way to stop your camera from taking blurry images.
Landscape Option
When using this mode, the objective is to capture as much as possible in the image. Imagine that you’re staring at a mountain, and you have a lovely cottage close by, in the foreground, but you want both in focus in the photograph, rather than one or the other. You will need what photographers often refer to as a large “DoF” depth of field. This will widen your focus, by minimizing the aperture(making the f stop go higher, e.g. 22 instead of 3.2), and allow for you to take a photograph with more chance of gaining both aspects of your image just have you see it with your naked eye.
Portrait Option
When you photograph people, you’d often use portrait mode, because it’s intention is to eliminate the focus on anything other than the person/object you have in view. The portrait mode does this by making the depth of field (DoF) as shallow as possible. I would have to advise anyone who is planning on photographing people or pets, to get their hands on a 50mm lens with an aperture (f stop) of 1.8 or less, and yes anything in the range of 1.4 and lower is very expensive, but for a beginner the 1.8 is usually not more than $100, and worth a good test and play.
Manual Option
For anyone that is in need of using a camera for organized events, then you often find yourself wanting to test settings on your camera beforehand. This usually allows for you to be prepared and organized with all of the equipment that you need to take with you. For this, you need the manual mode, where you can modify both the aperture and the shutter speed. I’ve found this mode essential as I’ve developed my skills further as an avid photographer by hobby. A few examples of where I’ve used it include music venues, studio shoots, macro photography and street photography. The honest simple answer to “What is the manual mode”… it’s the only mode on your camera where you can change every setting and variable you need. As you start to play and develop some experience in this mode you will likely want to start using this mode every time you use the camera, as most professionals do.
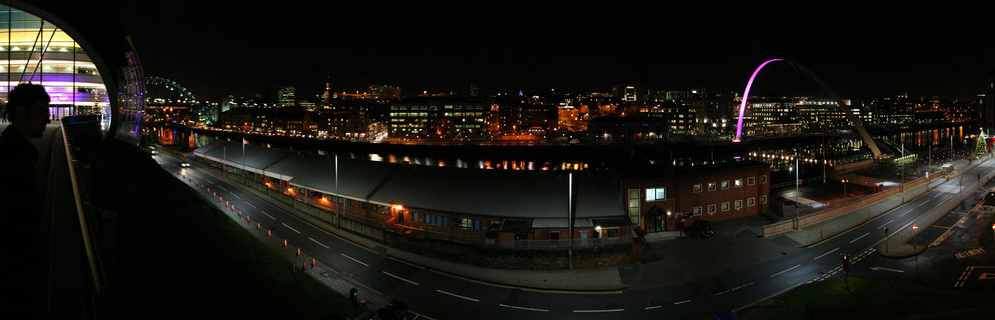
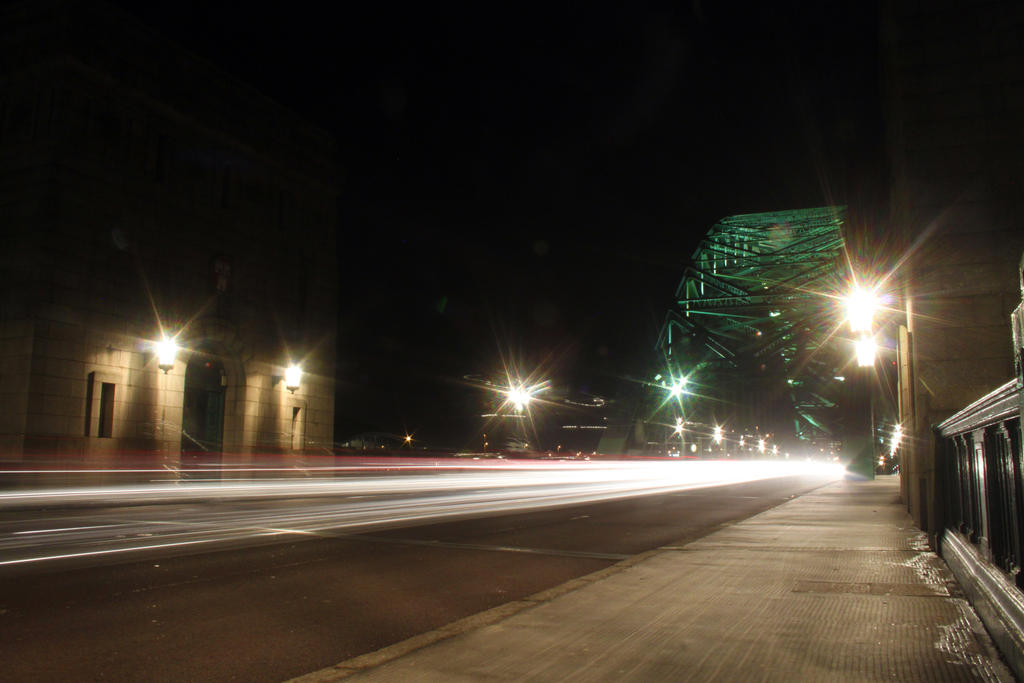
Night Option
Night time mode, as you can likely assume increase the odds of you gaining better photographs at night. If it’s dark outside, or if you’re in quite a dark place, then this is what you need, because it minimizes the aperture, just like the Landscape mode, but pushes this a bit further and allows for longer shutter speeds, which gives the camera more time to allow light into the image. The result is often an image that shows you an increased amount of detail at night, than your normal eye can see, however, if the location is totally dark, with no light source breaching in from any direction, then you will photograph nothing.
Shutter Priority Option
If you see the setting on your camera that is frequently marked as “Tv”, then you have the option of shutter priority. What you can do in this mode is adjust the shutter speed yourself, and then the aperture value will be configured automatically for you, by the camera.
Program Option
Not so many cameras have this option, however what it means, is that you can pre-program your desired configuration and then select it, and you will have the camera set up. It’s essentially a macro for your camera.